
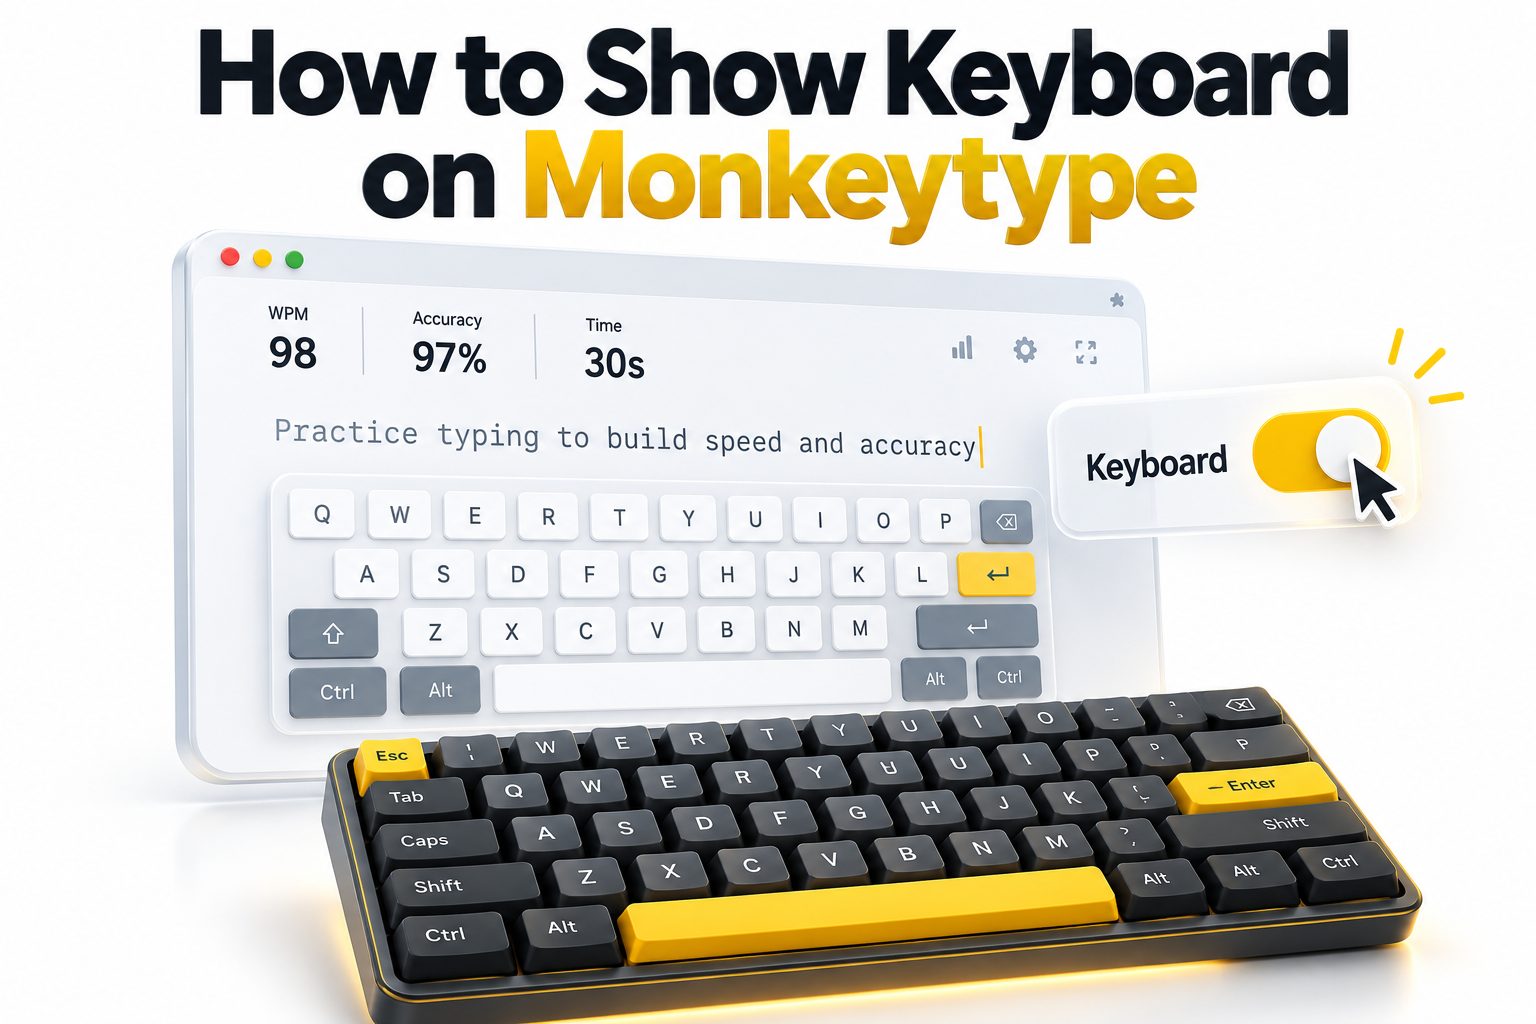
The keyboard shown beneath a Monkeytype test is called the keymap. To display it, open Monkeytype’s settings, find the keymap setting, and select Static, React, or Next instead of Off. Static keeps the keyboard visible, React highlights the keys you press, and Next indicates the key required for the upcoming character.
Knowing how to show keyboard on Monkeytype is especially useful when learning touch typing, switching to Colemak or Dvorak, practicing symbols, or correcting finger-placement habits. The feature is built into Monkeytype, so you do not need a browser extension, a separate virtual keyboard, or an account to use it.
This article explains the exact setup process, what each keymap mode does, and how to adjust the displayed layout, legends, number row, style, and size. It also covers common reasons the keyboard may not appear or may show the wrong keys. By the end, you will be able to configure the on-screen keyboard for your typing goals without changing how your physical keyboard works.
Showing the Keyboard in Monkeytype
Open Monkeytype and select the gear icon to enter the settings page. Scroll until you find the keymap section. The keymap mode is Off by default in many setups, which is why no keyboard appears underneath the typing area during a normal test.
Choose Static, React, or Next to enable the on-screen keyboard. Return to the main typing test after making your selection. Monkeytype normally applies settings immediately, so the keymap should appear below the test text without requiring you to save changes manually.
The setting controls a visual keyboard rather than your computer’s operating-system keyboard. It does not open the Windows touch keyboard, macOS Keyboard Viewer, or a mobile keyboard. It simply adds an interactive keyboard diagram to the Monkeytype test interface.
Keymap Modes Explained
Monkeytype offers three visible keymap modes, and each serves a different purpose. Static works as an always-visible layout reference. It is useful when memorizing unfamiliar key positions, although it does not provide feedback about the key you press or the character coming next.
React highlights your input as you type. This makes it easier to notice which physical key Monkeytype detected, particularly when checking a remapped layout. Next instead highlights the key needed for the next character, making it the most instructional option for learning key locations.
The available choices work as follows:
1. Open Monkeytype and select the settings gear.
2. Locate the setting labeled keymap or keymap mode.
3. Select Static for a fixed keyboard reference.
4. Select React to see your pressed keys highlighted.
5. Select Next to receive a visual prompt for the upcoming character.
6. Return to the typing test and begin typing to confirm that the keyboard is visible.
7. Choose Off later if you want to hide the keyboard again.
Choosing the Best Keymap Mode
Static mode is the least distracting choice. Because the keycaps do not continually change or flash, you can glance at the layout only when needed. It works well for typists who already know most key positions but occasionally need help with punctuation or an unfamiliar layout.
React mode is more useful for diagnosing input. When a key produces an unexpected character, its visual response can help reveal a mismatch between Monkeytype, your browser, an operating-system layout, or keyboard firmware. It also provides immediate feedback without telling you what to press next.
Next mode is generally the best starting point for deliberate keyboard-layout practice. The indicated key directs your attention to the correct location before you press it. The risk is becoming visually dependent on the prompt, so gradually switch to Static or Off as your muscle memory improves.
Customizing the On-Screen Keyboard
Enabling the keymap is only the first step. Monkeytype also provides settings for the displayed layout, keyboard style, legend style, top row, and size. These options change the keyboard diagram’s appearance without necessarily changing the characters generated by your physical keyboard.
A larger keymap can make highlighted keys easier to see, while a smaller one leaves more room for the test. Dynamic legends can reflect shifted characters, and the top-row control determines whether number and symbol keys remain visible. Adjust one option at a time so its effect is easy to identify.
Keymap Setting Comparison
Setting | Main choices | What it changes | Useful for
Keymap mode | Off, Static, React, Next | Visibility and interactive behavior | Selecting the type of visual assistance
Keymap layout | QWERTY, Colemak, Dvorak, and other supported layouts | Key positions shown on screen | Practicing a specific layout
Keymap style | Staggered, matrix, split, and other available styles | Physical arrangement of the diagram | Matching standard, split, or ortholinear boards
Legend style | Lowercase, uppercase, blank, dynamic | Labels displayed on keycaps | Letters, shifted characters, or label-free practice
Show top row | Always, layout dependent, never | Visibility of numbers and symbols | Number and punctuation exercises
Keymap size | Adjustable value | Overall diagram size | Readability and screen-space control
Matching the Keymap to Your Keyboard Layout
The keymap layout setting determines which arrangement appears on screen. Select QWERTY if you use the common English layout, or choose the relevant alternative when practicing Colemak, Dvorak, Workman, or another supported configuration. The visible layout should match the method producing your characters.
A visual layout and an emulated layout are not always the same thing. Monkeytype has separate controls that can affect displayed key positions and input behavior. If your operating system, browser, QMK firmware, or remapping utility already changes the output, avoid stacking another emulation layer unless you know it is required.
For example, a QMK-programmed keyboard may send Colemak characters while the operating system remains set to QWERTY. In that case, selecting a Colemak keymap can make the display match the physical arrangement, but enabling additional layout emulation may cause incorrect output. Test a few keys before beginning a scored run.
Displaying Numbers and Symbols
A missing number row does not necessarily mean the keymap is broken. Find the keymap show top row setting and select Always if you want numbers and their shifted symbols to remain visible. Layout Dependent follows the configuration associated with the selected layout, while Never hides that row.
For symbol practice, set the legend style to Dynamic. The labels can then respond to Shift or other supported modifier layers, showing uppercase letters and shifted punctuation where the selected layout defines them. This is more informative than a permanently lowercase keymap during punctuation-heavy tests.
Remember that displaying symbol keys does not automatically add symbols to a test. Turn on Monkeytype’s punctuation or numbers option when you want those characters included in the test content. The keymap controls the diagram; the test options control what you are asked to type.
Useful symbol-practice setup:
- Set keymap mode to Next so the required key is indicated.
- Set keymap show top row to Always.
- Choose Dynamic for the keymap legend style.
- Enable punctuation, numbers, or both in the test controls.
- Start with a short word-based test before increasing the duration.
- Watch the Shift state as well as the symbol key itself.
Adjusting Keymap Style and Size
A conventional laptop or desktop keyboard is best represented by the staggered style. Users with ortholinear, split, Alice-style, or stenographic hardware can choose a closer visual arrangement from the available keymap styles. A matching shape makes positional references more meaningful during practice.
The size control scales the on-screen keyboard. Increase it when individual labels or highlights are difficult to distinguish. Reduce it if the diagram pushes the test upward, requires excessive scrolling, or competes with the words for attention. Browser zoom also affects how much content fits on screen.
The best size is large enough to read with a quick peripheral glance. If you must move your head or scan the entire diagram for each character, the keyboard is probably too prominent. Its purpose is to provide occasional guidance, not replace attention to the text.
Fixing a Keymap That Does Not Appear
First, confirm that keymap mode is set to Static, React, or Next rather than Off. Then return to the main test page and check beneath the words. On a small display, the keyboard may sit below the visible portion of the page, so scroll slightly or reduce browser zoom.
Refresh the page if the setting appears enabled but the diagram remains absent. Browser extensions that alter page styles, aggressive content blockers, custom CSS, and stale cached files can interfere with interface elements. Testing Monkeytype in a private window can help identify a browser-specific conflict.
Use this quick troubleshooting checklist:
- Confirm that you changed keymap mode rather than only keymap layout.
- Start a standard typing test and look below the test text.
- Restore browser zoom to 100 percent or reduce it temporarily.
- Refresh Monkeytype after changing the setting.
- Disable custom styles or interface-modifying extensions for a test.
- Try a private browsing window or another supported browser.
- Check whether the problem occurs when signed out.
- Review recently imported settings if the keymap keeps reverting to Off.
- Reset settings only as a final step because it changes more than the keymap.
Correcting Wrong Keys or Missing Legends
When the keyboard appears but shows the wrong arrangement, compare the selected keymap layout with your physical keycaps and active operating-system input language. A German QWERTZ system layout, for example, will not behave exactly like an English QWERTY display even when the board looks similar.
Blank keycaps may be intentional if legend style is set to Blank. Missing numbers can result from the top-row setting. A modifier layer can also lack labels when the selected layout does not define characters for that layer. Release AltGr, Shift, or another held modifier and check the display again.
Custom firmware and remapping software require extra attention because Monkeytype sees the input delivered by the browser, not the wiring inside the keyboard. If the React highlight or Next prompt seems inconsistent, compare the output in a plain text field and temporarily disable overlapping remaps.
Practical checks for mismatched input:
1. Type A, Z, Y, a number, and a punctuation mark in a basic text editor.
2. Note the actual characters produced by the operating system.
3. Select the same layout under Monkeytype’s keymap layout control.
4. Use React mode to see which positions respond.
5. Check for active remapping tools, browser extensions, or firmware layers.
6. Avoid enabling Monkeytype layout emulation when another layer already performs the conversion.
Using the Keyboard on Mobile Devices
Monkeytype’s keymap is a visual reference, while a phone or tablet’s virtual keyboard is supplied by the operating system. Enabling the Monkeytype keymap does not force the device’s touch keyboard to open. The system keyboard normally appears when the browser places focus in an editable input area.
On a small screen, displaying both keyboards can leave little room for the typing text. Rotating the device, adjusting browser zoom where supported, or hiding the Monkeytype keymap may provide a clearer workspace. For serious speed practice, a connected physical keyboard generally produces more consistent results.
Mobile browsers can also resize the viewport whenever the system keyboard opens. That behavior may move the Monkeytype keymap off screen even though it remains enabled. Scroll carefully after the keyboard appears, and distinguish between the operating-system keyboard and Monkeytype’s on-page keymap when troubleshooting.
Using the Keymap for Better Typing Practice
The Next mode is useful for learning unfamiliar positions, but constant visual prompting can slow the development of muscle memory. Begin with short sessions in Next mode, move to Static once you recognize most positions, and eventually turn the keymap Off for normal speed tests.
React mode is better for reviewing technique than for receiving instructions. It can reveal accidental key presses and help confirm that your intended layout is active. Pair it with slow, accuracy-focused tests rather than chasing a personal speed record while watching every highlight.
For broader technique work, use [Internal Link: Touch Typing Practice Tips] alongside controlled Monkeytype sessions. Finger placement, relaxed movement, and accuracy matter more than keeping an on-screen keyboard visible indefinitely. The keymap should support those habits and then become less necessary.
A simple progression plan:
- Sessions 1–3: Use Next mode and prioritize correct keys.
- Sessions 4–6: Switch to Static and glance down only when stuck.
- Sessions 7–9: Use React to review accidental presses.
- Session 10 onward: Turn the keymap Off for selected tests.
- Re-enable Next temporarily when adding symbols or changing layouts.
Common Mistakes When Showing the Keyboard
One frequent mistake is changing keymap layout while leaving keymap mode set to Off. Layout selects what the keyboard looks like, but mode determines whether it is displayed. Choose a visible mode first, and then configure the layout and style.
Another mistake is expecting the keymap to control a physical keyboard or system input language. It does not rearrange keycaps, switch Windows or macOS layouts, or change keyboard firmware by itself. Treat the feature primarily as a display and training aid.
Do:
- Match the displayed layout to the input arrangement you actually use.
- Choose Next for guided learning and React for input feedback.
- Enable the top row when practicing numbers or shifted symbols.
- Reduce the keymap size if it crowds the test.
- Remove visual assistance gradually as your accuracy improves.
Don’t:
- Assume selecting a layout automatically remaps your operating system.
- Add multiple emulation layers without testing their combined effect.
- Reset every Monkeytype setting before checking simpler causes.
- Watch the keymap continuously during speed-focused tests.
- Install an extension merely to access the standard built-in keymap.
Keyboard Display Limitations
Monkeytype’s on-screen keyboard is designed for typing-test feedback, not full hardware visualization. It may not represent every macro, function key, media control, custom firmware layer, dead key, or language-specific combination available on a specialized keyboard. Supported legends depend on the selected layout data.
The keymap also cannot assess whether you are using the recommended finger for a key. It shows positions, presses, or upcoming input, but it does not track your hands. For finger assignments, combine it with a touch-typing chart or [Internal Link: Keyboard Finger Placement Guide].
Users with complex split boards or personalized QMK layers may need to choose the closest available style rather than an exact visual replica. That does not prevent useful practice, provided the displayed character positions match the layer being trained closely enough to avoid misleading prompts.
Conclusion
The built-in keymap is the simplest answer for anyone searching for how to show keyboard on Monkeytype. Open settings, locate keymap mode, and choose Static, React, or Next. Static provides an unobtrusive reference, React highlights your input, and Next shows the key needed for the upcoming character.
After enabling it, match the keymap layout to the arrangement you actually use. You can also adjust the keyboard style, legend behavior, top-row visibility, and size. Dynamic legends and an always-visible top row are particularly helpful for uppercase letters, numbers, and punctuation practice.
If the keyboard does not appear, verify that the mode is not Off, look below the test area, check browser zoom, and refresh the page. When the displayed keys do not match your input, inspect the operating-system layout and any firmware or remapping software before enabling additional emulation.
Use the keyboard as temporary guidance rather than a permanent focal point. Next mode can teach key locations, Static can reinforce them, and turning the display off eventually helps convert that visual knowledge into dependable muscle memory.
Frequently Asked Questions
Can I show a keyboard during a Monkeytype test?
Yes. Open Monkeytype settings, find keymap mode, and select Static, React, or Next. The on-screen keyboard will appear beneath the test area. Select Off whenever you want to hide it again.
Which Monkeytype keymap mode is best?
Next is best for learning because it highlights the required upcoming key. Static suits occasional reference, while React shows the keys you press. The right choice depends on whether you need instruction or feedback.
How do I show the number row?
Open the keymap settings and set keymap show top row to Always. To include numbers in the typing content as well, enable the numbers test option; displaying the row alone does not add them.
Why is the Monkeytype keyboard showing the wrong layout?
The selected keymap layout may not match your operating-system layout, physical key arrangement, or firmware remap. Compare those configurations and avoid applying multiple layout-emulation layers, which can transform the same input twice.
Can the Monkeytype keymap show symbols?
Yes. Set the legend style to Dynamic and keep the top row visible. Shifted symbols appear where the chosen layout supports them. Enable punctuation in the test controls if you also want symbol-based prompts.